In order to automate acceptance tests with Cucumber in Eclipse we must first load the Cucumber Plugin in Eclipse using the Eclipse Marketplace. Once the Cucumber Plugin is installed in Eclipse, we can create a Maven Project and add Feature, Step Definition and CucumberRunner classes to integrate our Gherkin Acceptance Criteria statements with our Junit test runner.
See the previous post for details on installing the Cucumber Plugin

Create a new Project or use your existing Stack App Maven Project (select other in the new project menu)

In the New Project Dialog Select Maven Project from the Maven folder
For this simple example we will forego archetype selection in favor of a simple project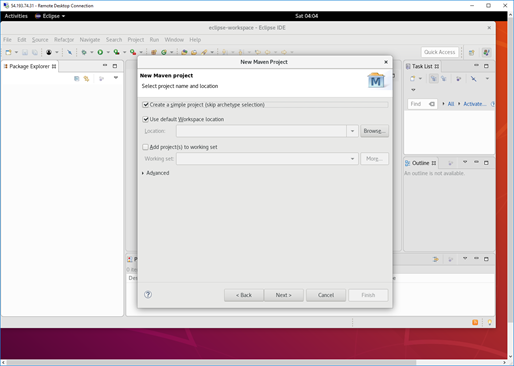
Create a simple project (skip archetype selection)
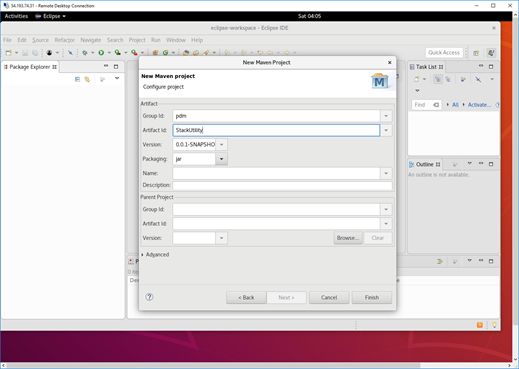
Add a Group Id and Artifact Id

Create a new CucumberRunner class in the src/test/java folder
Add the code below to the CucumberRunner class
import org.junit.runner.RunWith;
import cucumber.api.CucumberOptions;
import cucumber.api.junit.Cucumber;

@RunWith(Cucumber.class)
@CucumberOptions()
public class CucumberRunner {
}
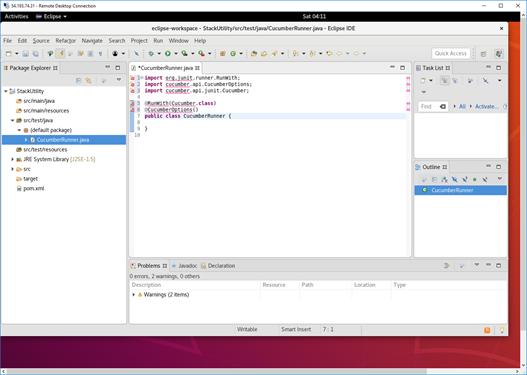
In a more complex project we may choose to better organize our Feature Files and Step Definitions by storing them in specific Packages or Folders. The syntax for specifying a feature folder is features = “path”. The syntax for specifying a feature package is features = {“package name”}. The same is true when specifying a package or folder for the “glue” code.
import org.junit.runner.RunWith;
import cucumber.api.CucumberOptions;
import cucumber.api.junit.Cucumber;
@RunWith(Cucumber.class)
@CucumberOptions(
features = "src/test/resources"
,glue= {"steps"}
)
public class CucumberRunner {
}
Cucumber Runner with options for features folder and glue code package
After updating the CucumberRunner class we will need to update the pom.xml file to declare dependencies and resolve the reference issues (get rid of the red squigglies)
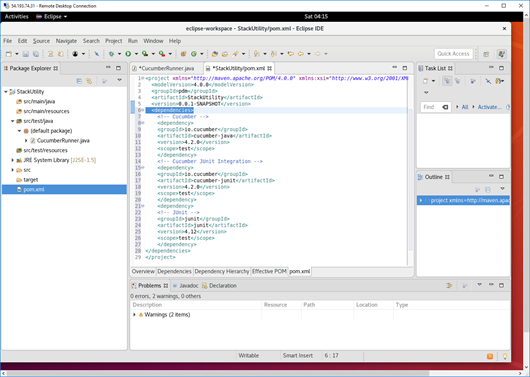
In our maven project we need to update the pom.xml file to include a dependency for cucumber as well as a dependency for junit integration
Add the code below to the pom.xml file before the closing </project> tag
<dependencies>
<!-- Cucumber -->
<dependency>
<groupId>io.cucumber</groupId>
<artifactId>cucumber-java</artifactId>
<version>4.2.0</version>
<scope>test</scope>
</dependency>
<!-- Cucumber JUnit Integration -->
<dependency>
<groupId>io.cucumber</groupId>
<artifactId>cucumber-junit</artifactId>
<version>4.2.0</version>
<scope>test</scope>
</dependency>
<dependency>
<!-- JUnit -->
<groupId>junit</groupId>
<artifactId>junit</artifactId>
<version>4.12</version>
<scope>test</scope>
</dependency>
</dependencies>
Once the pom.xml file has been updated with the required dependencies and saved the reference issues in the CucumberRunner class will be resolved.
Now we can add a feature file then generate step definitions
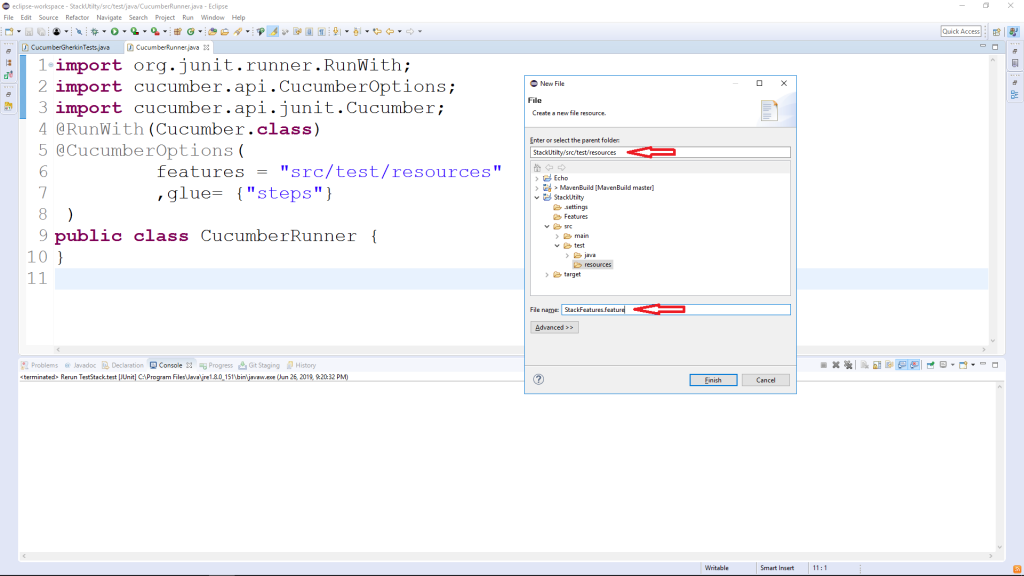
Create Feature File
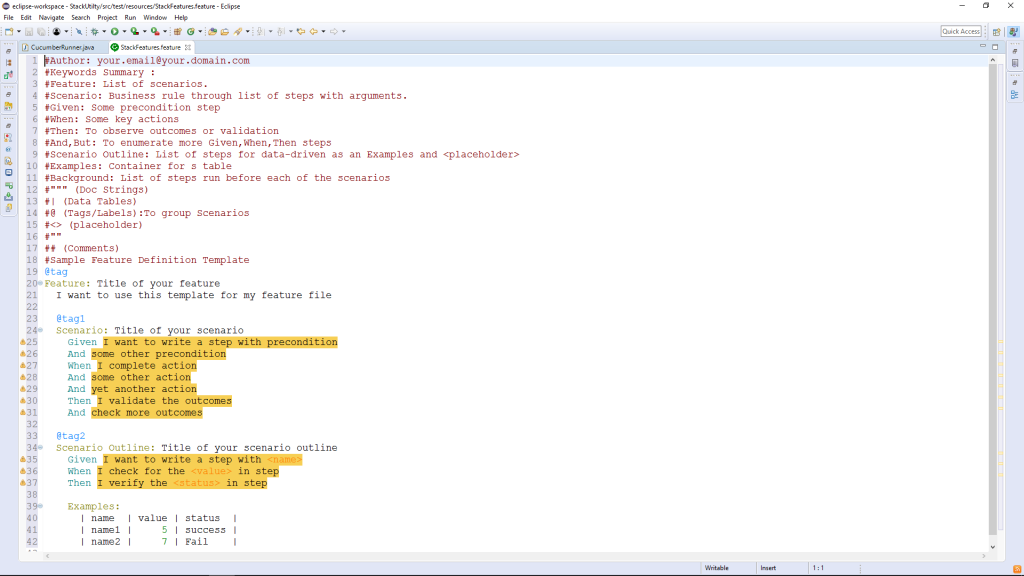
Once we have created a new file with the feature extension the Eclipse plug in will provide us with a sample feature file to get us started.
For the purpose of this demo we will paste in some existing Acceptance Criteria from the As a User I need to Stack so that I can move it around user story in our Sprint Backlog in Azure DevOps (Team Foundation Server Online)
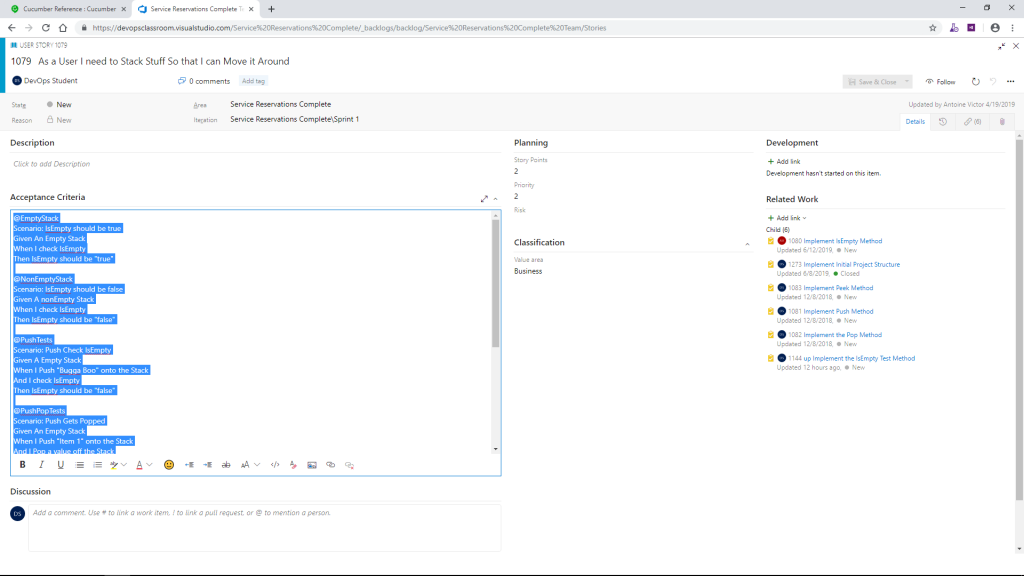
Scenario: IsEmpty should be true
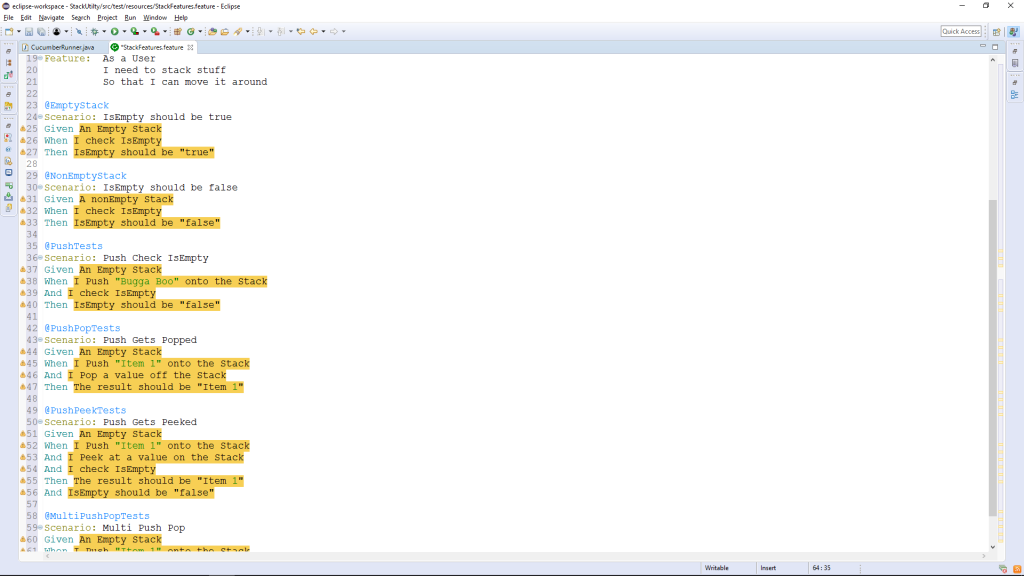
Once we have created and populated our feature file the Gherkin statements that do not yet have matching “glue” code (which is all of them) will be highlighted in Yellow.
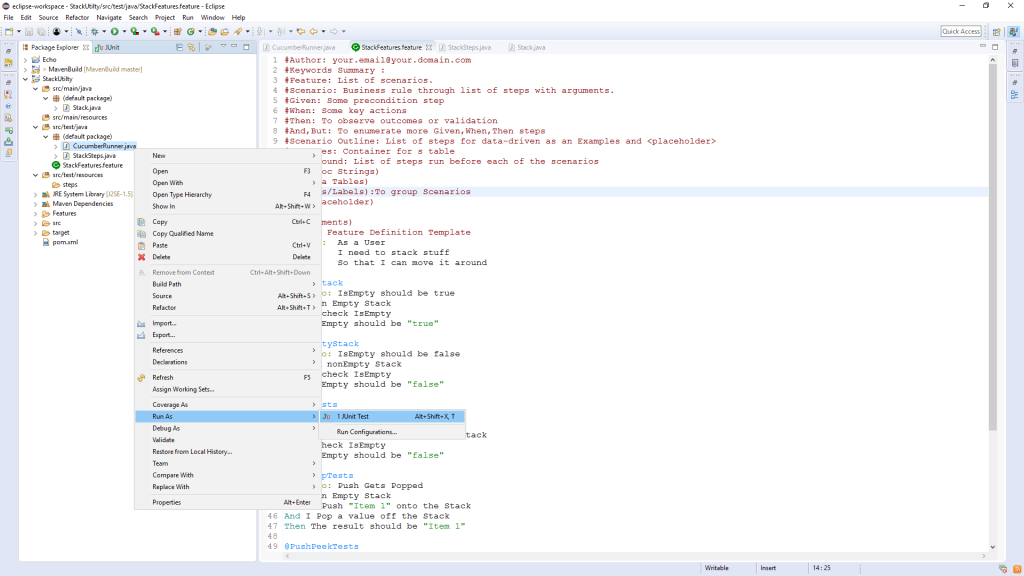
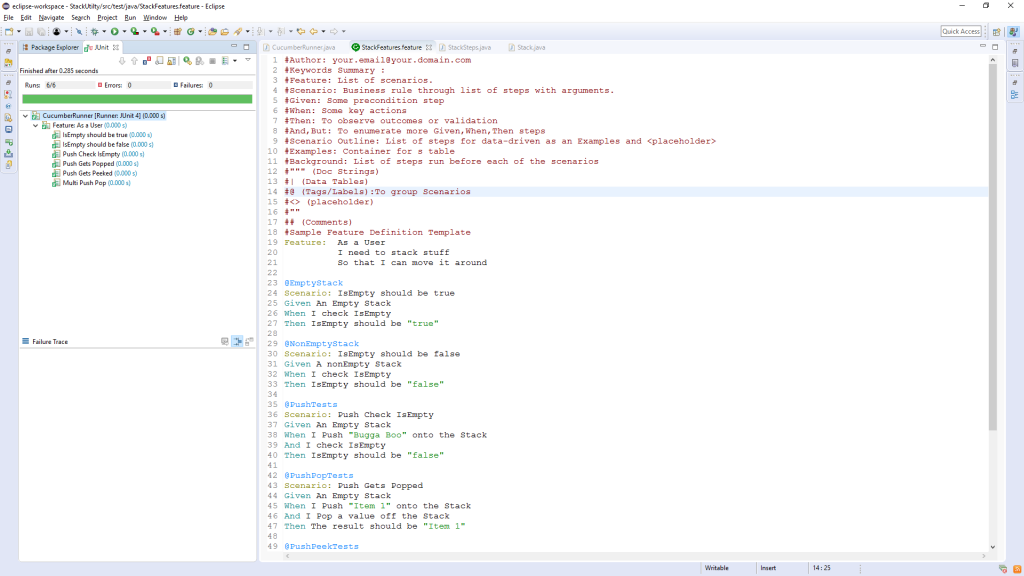
If we attempt to execute the tests we will get suggestions in the output window for creating the glue code.
The suggestions in the output window will just be placeholders for the step definitions / glue code that you will have to code with your test details.
In the src/test/java folder create a class named StackSteps then insert the sample code below.
import static org.junit.Assert.assertEquals;
import cucumber.api.java.en.Given;
import cucumber.api.java.en.Then;
import cucumber.api.java.en.When;
import stackApp.Stack;
public class StackSteps  {
Stack stack;
Boolean _isEmpty;
String _actual;
@Given("An Empty Stack")
public void an_Empty_Stack() {
     stack = new Stack();
 }
@When("I check IsEmpty")
 public void i_check_IsEmpty() {
     _isEmpty = stack.isEmpty();
 }
@Then("IsEmpty should be {string}")
 public void isempty_should_be(String string) {
     assertEquals(Boolean.parseBoolean(string), _isEmpty);
 }
@Given("A nonEmpty Stack")
 public void a_nonEmpty_Stack() {
     stack = new Stack();
     String expected = "Hello, World!";
     stack.push(expected);
 }
 @When("I Push {string} onto the Stack")
 public void i_Push_onto_the_Stack(String string) {
     stack.push(string);
 }
@When("I Pop a value off the Stack")
 public void i_Pop_a_value_off_the_Stack() {
     _actual = stack.pop();
 }
@Then("The result should be {string}")
 public void the_result_should_be(String string) {
     assertEquals(string, _actual);
 }
@When("I Peek at a value on the Stack")
 public void i_Peek_at_a_value_on_the_Stack() {
     _actual = stack.peek(); }
 }
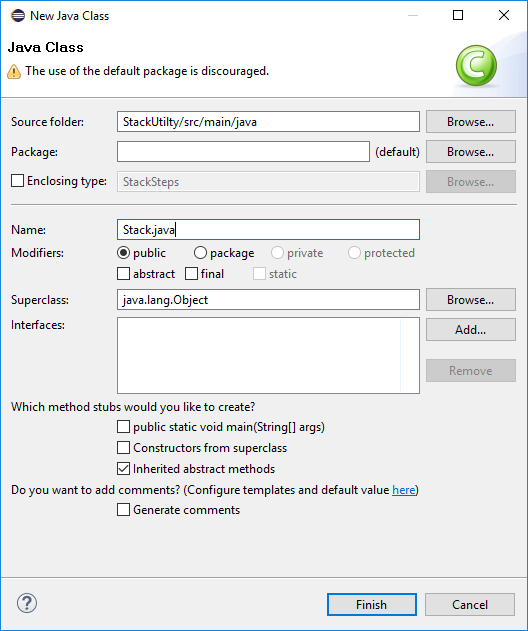
Finally we will create a Stack class and write just enough code to pass our tests
import java.util.ArrayList;
public class Stack {
 ArrayList stack = new ArrayList();
 public Boolean isEmpty() {
     return stack.isEmpty();
 }
 public void push(String input) {
     stack.add(0,input);
 }
 public String pop() {
     return stack.remove(0).toString();
 }
 public String peek() {
     return stack.get(0);
 }
 }


good post