To get started with Java Development and follow along with the ProDataMan Agile and DevOps samples and demos using Open Source tools you first need to download and install the Java Development Kit (JDK)
You can find the link to download the JDK for you environment here: http://www.oracle.com/technetwork/java/javase/downloads/jdk8-downloads-2133151.html
Select your operating system and CPU type from the list. I am running Windows 10 on a x64 CPU
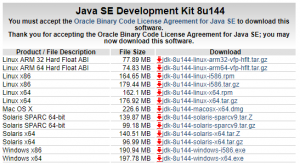
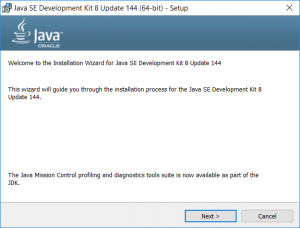
Once the download is complete launch the .exe to install the JDK.
Click Next, Next, Finish to complete the installation.
Once the installation is complete you will need to add an Environment Variable for the JDK and add it to the Path system variable.
On Windows 10 type System in the Start Menu and select System (Control Panel) not System Info.
In the System dialog select Advanced System Settings in the menu on the left this will bring up the System Properties dialog.
In the System Properties dialog select Environment Variables
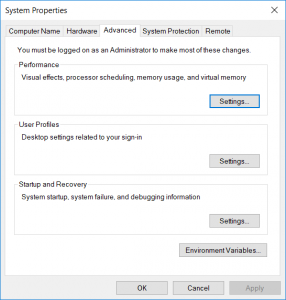
In the Environment Variables dialog select New in the System Variables section
In the New Variable dialog enter JAVA_HOME for the Variable Name and the path to your JDK installation as the Variable Value

Click OK to save the changes to the new JAVA_HOME system variable.
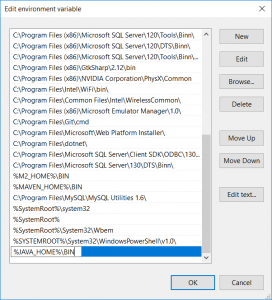
In the Environment Variables dialog select the Path System variable in the System Variables section and click Edit.
Add %JAVA_HOME%\Bin to the end of the list and click OK
Now that the JDK has been installed and the Path System Variable has been updated we can verify the version of our installation from a command prompt.
Launch a command window by typing CMD in the start menu
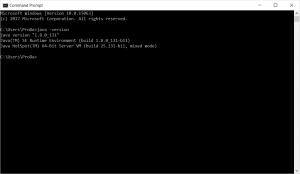
At the command prompt type Java -version end press Enter
You should receive output similar to the image below.
Now we are ready to install Maven and Eclipse.
Check out the YouTube video of this demonstration below:

